Diffuse
Diffuse Color
The color Filter setting corresponds to the color perceived when the material is lit by white light. As the material reacts like a filter, it reflects part of the light it receives. The perceived color of an object is thus greatly influenced by the lighting environment. If we consider that white light is made up in equal parts of green, red and blue (empirical computer model), then a black body absorbs all these components, a white body reflects them without alteration, a red body absorbs the green and blue, etc.
The parameter Intensity allows you to amplify or attenuate by a multiplicative factor the effect of the light environment on the material.
Color Map
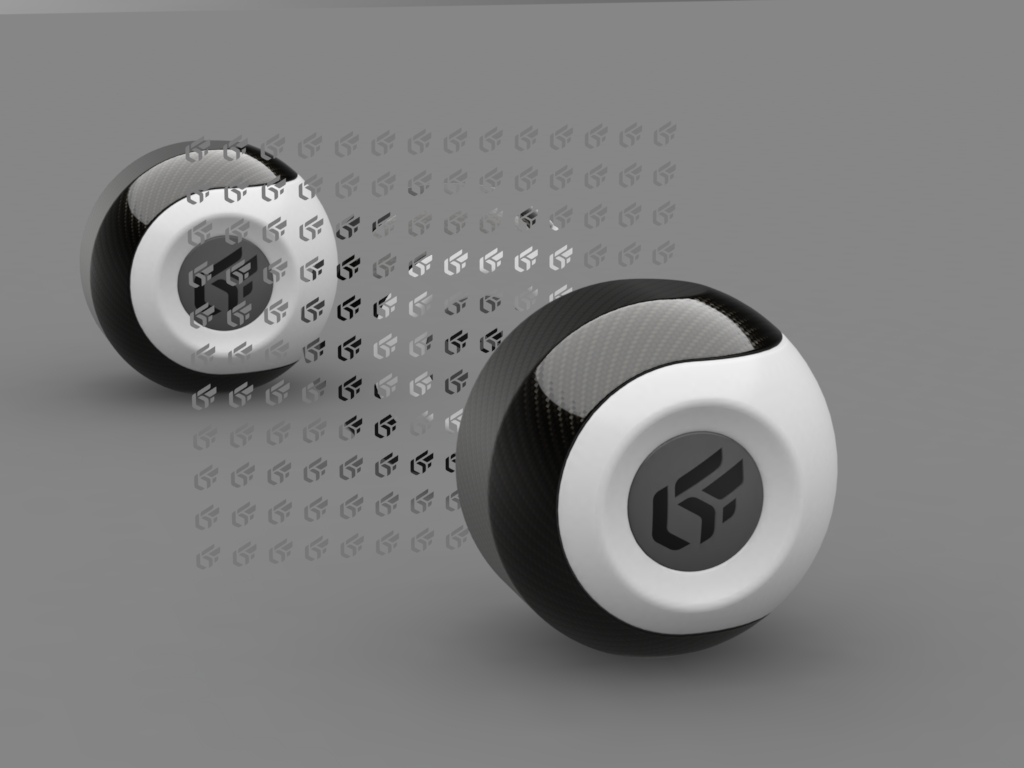
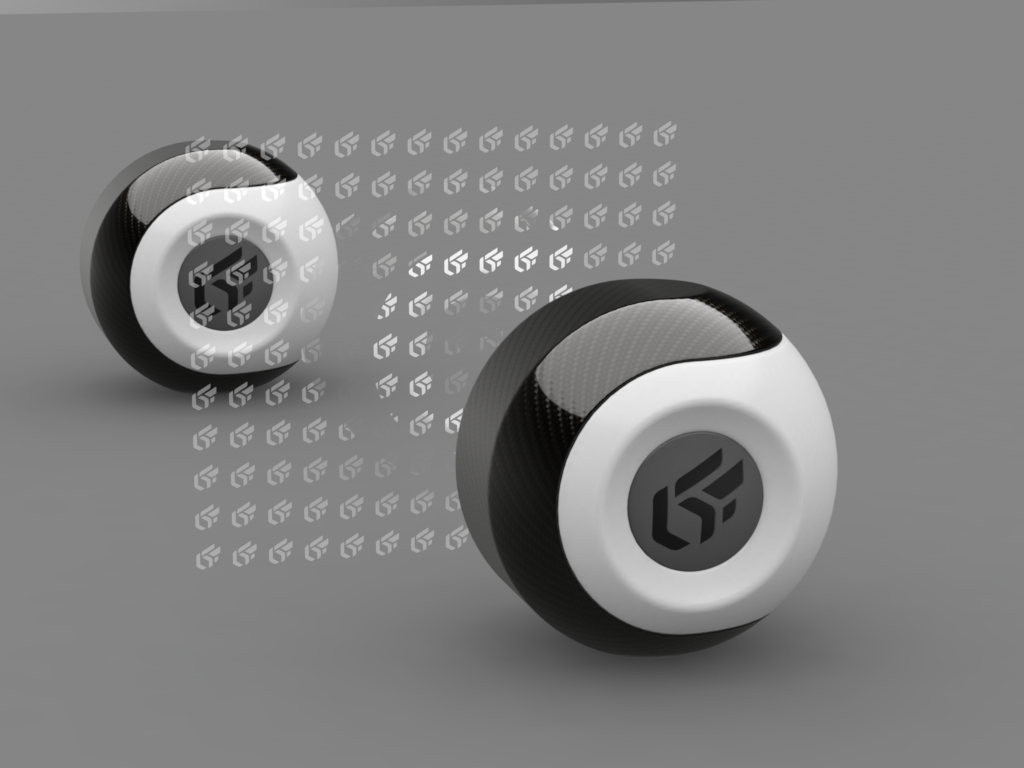
Some materials have a pattern or motif that is created by repeating or not an image across the surfaces to which the material is assigned. The Color Map settings are used to assign, resize, and position the first instance of such an image.
Color maps are image or video textures. To use a texture as a color map, drag it from the sidebar texture library and drop it in the color map zone. To be shown, the color map must also be enabled by ticking the checkbox next to the color map zone.
The texture dimensions are used by default for an image texture.
For a video texture, the longest edge of the format is scaled to one meter by default. The format's aspect ratio is respected. Any texture used as a color map will repeat.
You will find in the accordion menu named Mapping the following parameters Allow repeat in U and Allow repeat in V, which allow you to choose to repeat the texture in U and/or V. By checking the Mirrored checkbox, you can reflect the texture in U and/or V.
Reducing moiré on high-frequency textures
Notice
Available in: Matter > Material Library  > material > Diffuse > Color Map > Resolution offset
Principle
The Resolution offset parameter deliberately reduces the sampling level to eliminate moiré on dense patterns (houndstooth, tweed, technical weaves), at the cost of lowering the perceived detail.
The setting can vary from -15 to 15 to control the level of detail of the textures shown.
Negative values (e.g., of -1 to -15): These values simulate a closer camera. This allows the texture to be displayed in greater detail, making it sharper than it would be by default.
Value 0: The default, which displays the texture in its normal level of detail, based on the distance from the camera.
Positive values (e.g., of 1 to 15): These values simulate the distance between the camera and the textured surface. This has the effect of making the texture more blurry, as if seen from a distance
In summary, the Resolution offset adjusts the sharpness of textures to make them more detailed or blurry, simulating a change in camera distance.
Note
It is important to note that this setting does not change the original texture's resolution; rather, it adjusts the level of detail displayed. Negative values can improve perceived sharpness, while positive values can improve performance by reducing detail
When to use it?
To be used for:
Symptom | Action on Resolution offset | Expected behaviour |
|---|---|---|
Visible moiré | Increase the value slightly. | Stable pattern, attenuated interference. |
Texture perceived as too soft after adjustment. | Reduce the value and reevaluate at several distances. | Stability/sharpness compromise restored. |
Persistent artifacts with sharp angles. | Refine the value and check the result. | Additional reduction in directional flicker. |
Adjusting the Resolution offset for Diffuse
Starting from the Material Library
, double-click on the material that needs adjustment to reduce the moiré effect. The Materials editor opens.In the Diffuse tab, locate the accordion menu Color Map and click on the None button to open the Texture Library
 .
.Starting from the Texture Library
, drag and drop the desired texture onto the None button.Accordion menus Color Map, and Mapping unfold. In the latter, select the desired value for the Resolution offset parameter.
Increase the Resolution offset gradually until the pattern is stabilized, without superfluous blur.
Validate on several angles and distances to highlight a possible Moiré (before and after comparison if necessary).
Media
Use case for reducing the moiré effect on the upholstery of the seat of a chair using the Resolution Offset parameter.
Transparency of the Diffuse Layer
The Transparency of the mirror manages the transparency rate depending on the color depth from colored to black (non transparency) and its refraction color.
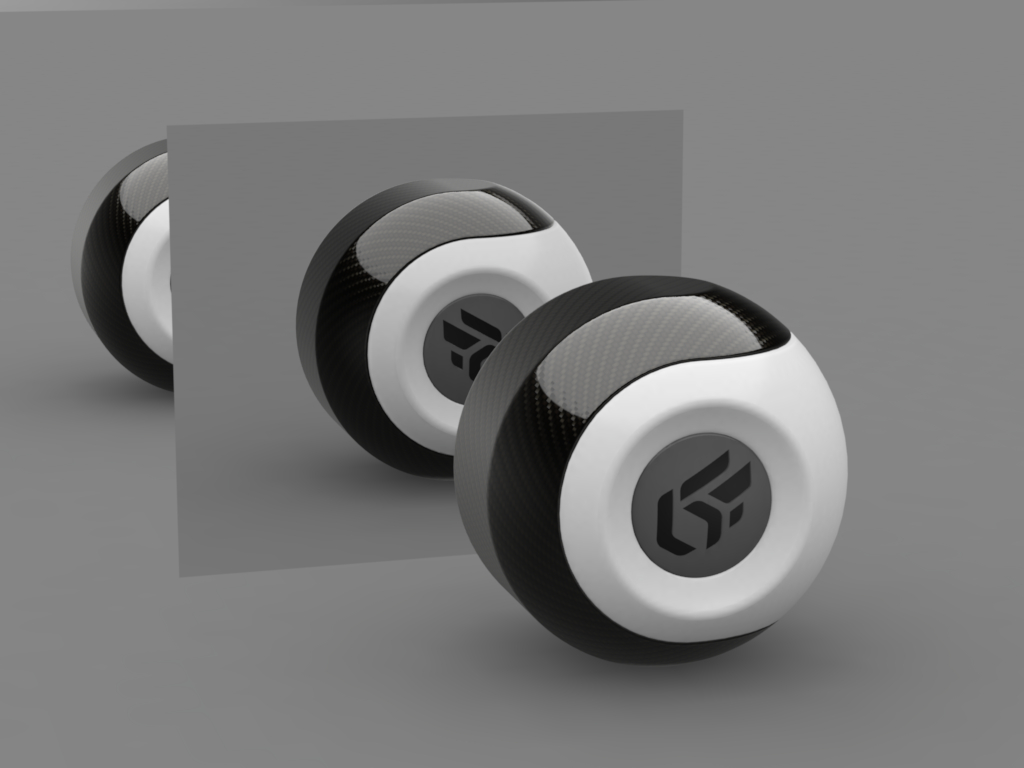
On the left, Mirror material without transparency color. On the right, Mirror material with transparency color. Selected transparency color: white #FFFFFF
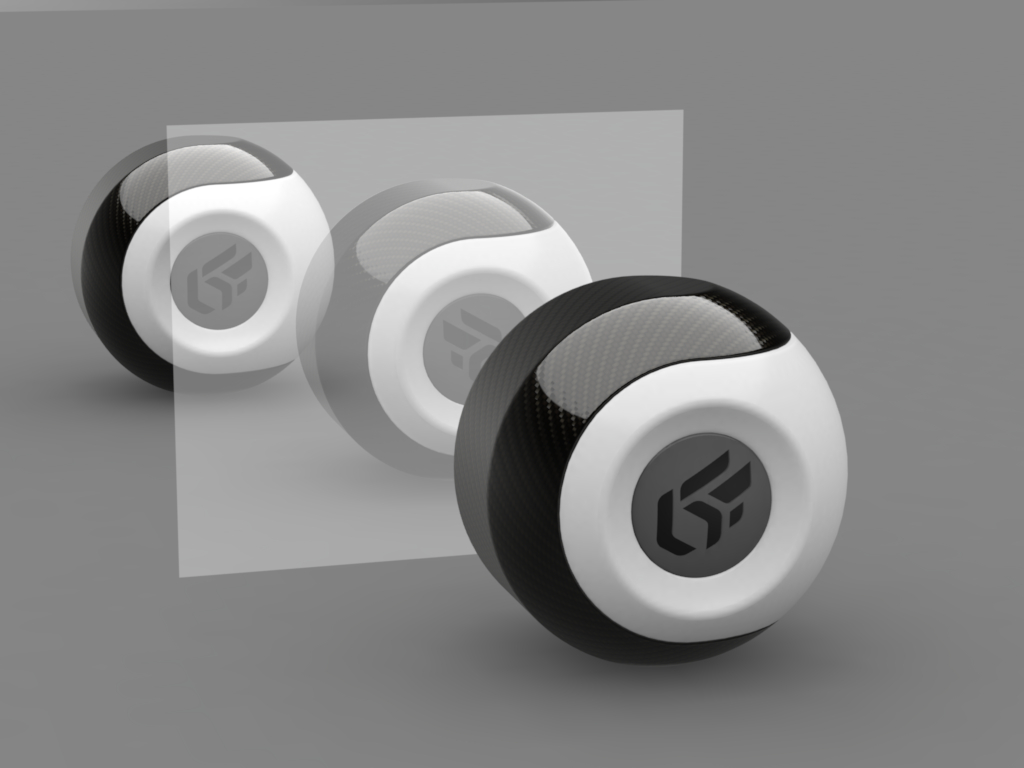
The Transparency accordion menu lets you use a texture for controlling the transparency of the material. The alpha layer contained in the images (PNG format) is used to define the transparency of the texture.
On the left, Mirror material with transparency texture. On the right, Mirror material with texture and transparency color (white #FFFFFF) Selected transparency color: white #FFFFFF
If the texture used as image alpha does not have an alpha channel (JPG image), it is the alpha or the luminosity of the image color map that is used as the alpha channel. In this case, check Use color map transparency. The darkest colors correspond to the most transparent areas:
You will find in the accordion menu named Mapping the following parameters Allow repeat in U and Allow repeat in V that allow you to choose to repeat the texture in U and/or V.
By checking the Mirrored checkbox you can reflect the texture in U and/or V.