Workspace
|
Available in: Shaper or Matter : Workspace |
A Workspace allows you to change the user interface of Patchwork 3D by reordering toolbars according to your uses. Each reorders of toolbars can be saved in a different workspace.
Several workspaces come with Patchwork 3D. The workspace named Legacy is the historical user interface of the software while the workspace named Default is an interface optimized for the uses of CG Artists with a selection of dedicated editors necessary for the creation of a Digital Aspect Mockup.
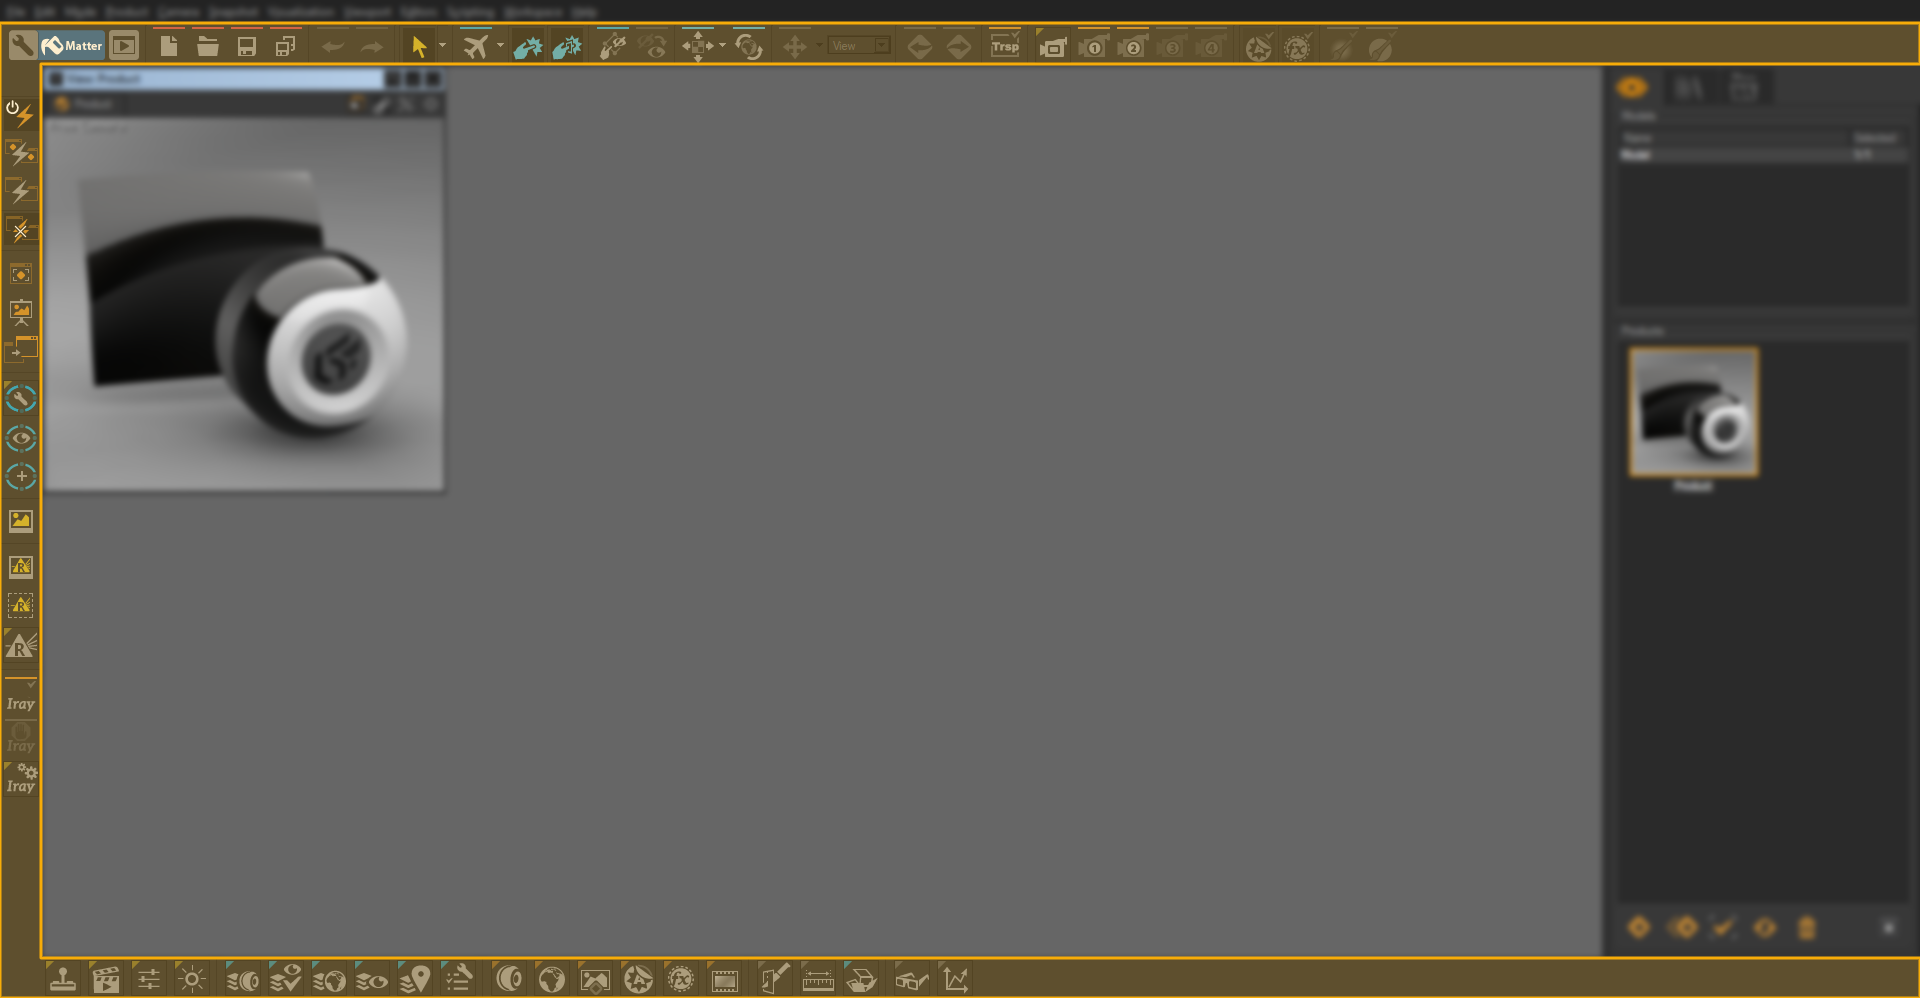
Example of the Matter module with the workspace Default.
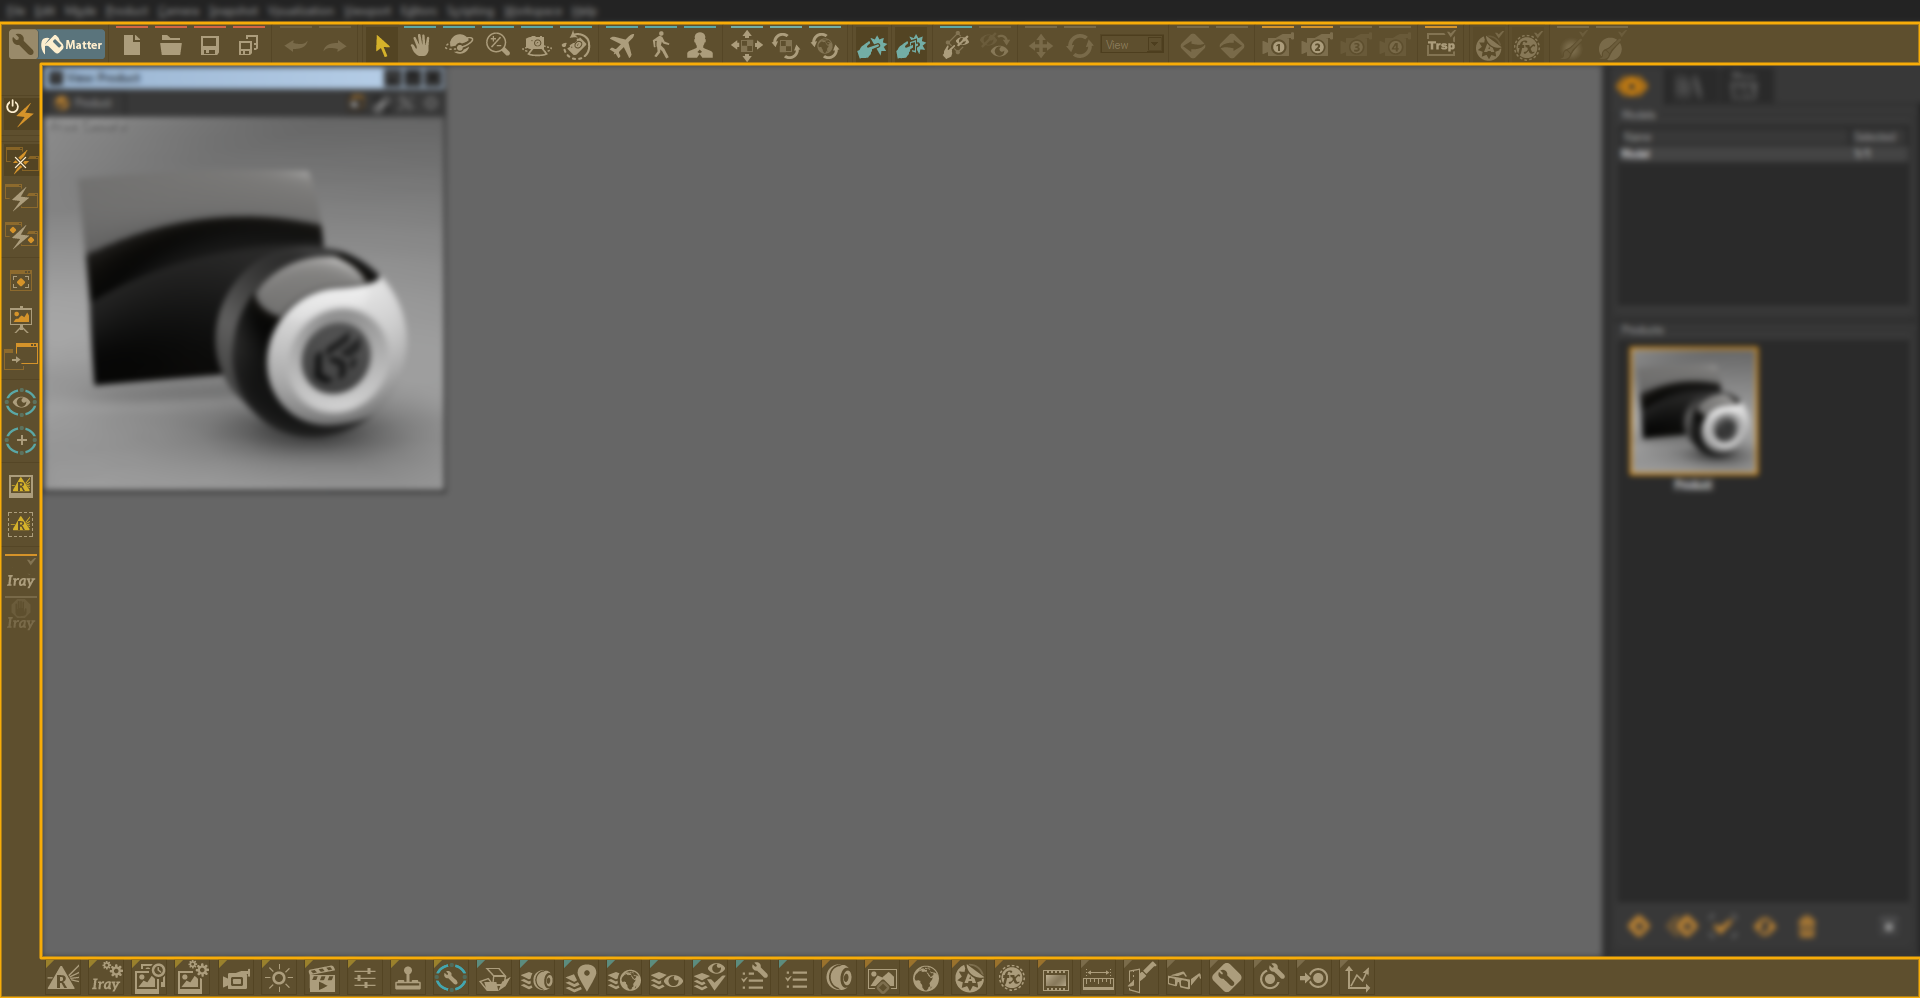
Example of the Matter workspace module Legacy.
Select the desired workspace in the menu to display it.
Note
For Shaper the top and left toolbars of the Patchwork 3D user interface are customizable.
For Matter the top, bottom and left toolbars of the Patchwork 3D user interface are customizable.
You can also create your own workspaces from Python scripting. It is also possible to add new buttons related to a Python script: you can launch software or a website from the toolbar, develop new custom features using the P3D script API or automate routine operations. See the scripting documentation for more information.

Example of adding buttons linked to a Python script that executes one or more applications. Here, in this case, it is Accel VR, Lumis 3D, and Adobe Photoshop®.
To create a new workspace, we recommend using one of the spaces delivered with Patchwork 3D, for example, spaces named Default or Legacy. You will find them in the following location: C:\Program Files\Lumiscaphe\Patchwork 3D 2026 X8 release 1 \workspaces.
Workspaces created by you should be stored in the following location: C:\ProgramData\Lumiscaphe\P3D\Workspaces so that Patchwork 3D can list them in the Workspace menu. Click on Open workspaces folder to display the folder where workspaces are stored.
Configuration Scheme
Notice
Available in: Matter > Workspace menu > Configuration Scheme |
Principle
The Configuration Scheme workspace in Patchwork 3D automates the creation of configurations. It enables you to visually define color areas on the 3D model that will receive different materials. With just one click, you can generate the complete hierarchy of aspect layers and the corresponding configuration rules, eliminating repetitive entry and minimizing the risk of errors.
Two viewing modes:
The EDIT MODE displays and activates the zone aspect layer to assign zone materials to surfaces. All generated material assignments are hidden, and the Configuration Browser has no visible effect in the viewport.
The VIEW MODE shows the generated aspect layers. It allows you to preview the configurations generated via
 Configuration Browser.
Note
Any modification of a zone made using the tools in the Configuration Scheme workspace, like its renaming  or deletion
  , automatically propagates throughout the structure, guaranteeing the consistency of configurations without manual intervention. Conversely, a rename performed manually outside of these tools, for example, directly on a material or a group of materials in the library, will not be propagated.
Each material zone has its own color to facilitate its identification. If two zones have colors that are too similar, it is possible to modify one without any impact on the process.
Warning
The Configuration Scheme has been designed to work without further editing the aspect layers from the Aspect Layer Editor. It is best to use either the Configuration Scheme or the Aspect Layers (Editor), but not both at the same time, to avoid configuration conflicts.
When to use it?
Regular updating (additions, deletions) of the materials used for each zone.
Models requiring multiple aspect variants to be managed simultaneously.
Configurations with multiple zones and materials to reduce the risk of manual assignment errors.
Update or rename zones to be automatically propagated to all existing configurations.
Generate a configuration
The Configuration Scheme workspace associates each zone with a group of materials via a naming convention: the name assigned to a zone when it is created simultaneously defines the name of the color material (in Zone Materials) and the name of the group that will contain various materials. This correspondence allows the automatic generation of the hierarchy of aspect layers and configuration rules
In Matter, open the Workspace menu and select Configuration Scheme.
Click on
 EDIT MODE to switch to edit mode.
Click on
 ADD ZONE and name the zone, for example, “Plastic”. This creates:
a group of “Plastic” materials
a group known as Zone Materials that includes a “Plastic” color material. Zone Materials thus makes the link with the material group.
From the Zone Materials group, assign the “Plastic” color material to the model's surfaces using drag-and-drop. This color material identifies these surfaces as belonging to the “Plastic” zone: during generation, they will be assigned materials from the corresponding group.
Tip
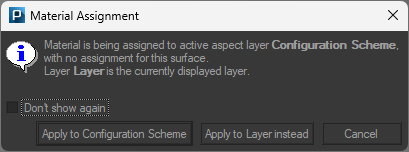
If this message appears, click Apply to Configuration Scheme. The option Apply to Layer instead would affect the material to the displayed aspect layer, outside of the structure Configuration Scheme. Generate could not take it into account.
Repeat zone creation and color material assignment for each additional zone in the model.
Add the materials in the group corresponding to each zone.
Tip
It is also possible to drag and drop materials from the Material Library in their corresponding material groups. (Example: “Plastic”)
Click on
 to automatically create the hierarchy of aspect layers and configuration rules.
The link is established by naming correspondence between the color material in each zone and the material group of the same name.
Switch to
 VIEW MODE to visualize the result of your configurations.
Check the result in the
Configuration browser.