How to Make an Overlay
To create an overlay, you must have previously created a texture image (for example, in Photoshop) of the logo or the text you wish to display.
Begin by opening the Overlays  editor from the Matter editor toolbar.
Next, create a new layer and adjust the position of your overlay. This is managed in the Transformation zone, which allows you to indicate the horizontal and vertical position, and the overlay offset.
Tip
The offset of the overlay on X, Y axis can be expressed in different units and relative to the size of the image with the following parameters % width, % height and % default. % default uses height or width depending on the default orientation of the active camera.
You can also add a background color by adjusting the parameters of the Gradient field.
Finally, apply the texture image by drag-and-drop to the part of the Map field.
The overlay is now created, and by dragging and dropping it from the sidebar library to the viewport, you can add the overlay to the product.
There are three actions in the Camera > Overlay menu that allow you to hide (or display) the overlay, to edit it or to remove it from the camera sensor, namely: Overlay visibility, Edit overlay and Delete overlay.
Examples
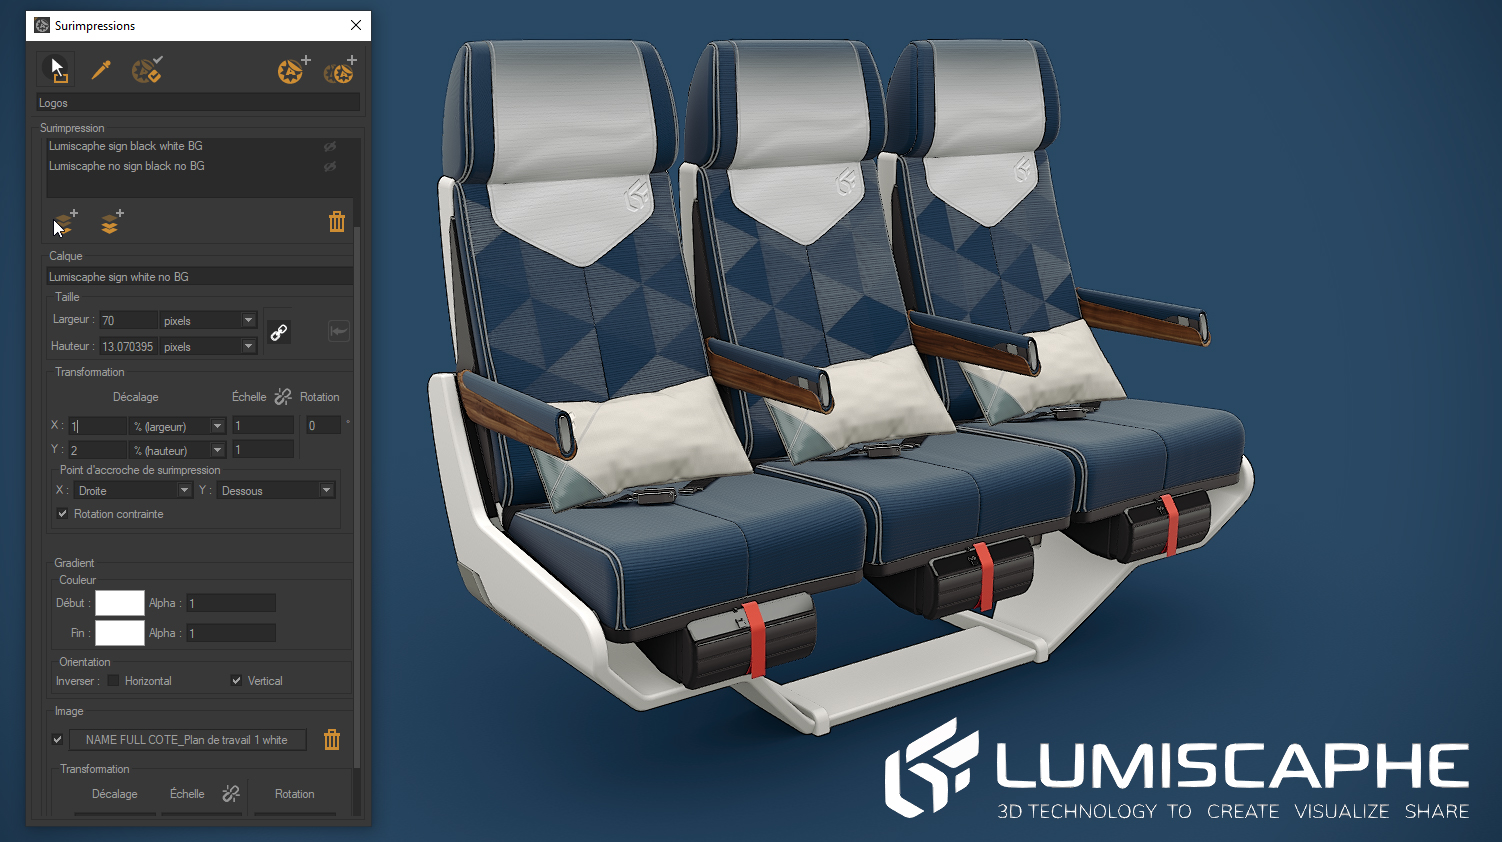
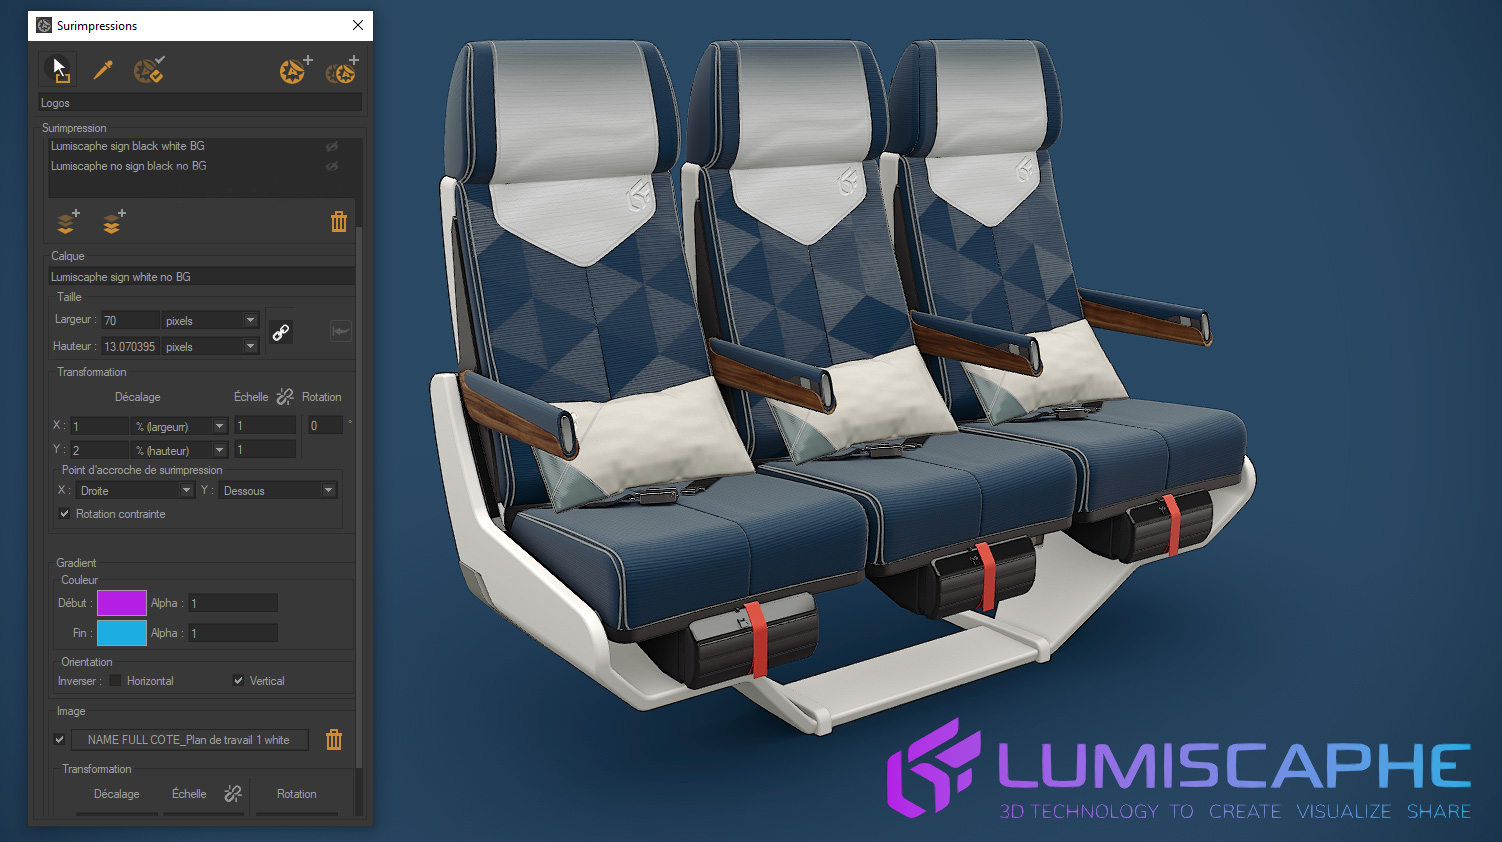
Here are a few examples of overlays prepared with the same texture image, in this case the Lumiscaphe logo.


Different styles of overlay.
Note
For the last example, we have varied the Alpha parameter (transparency) for each color It is also possible to adjust it at the start in the Global Parameters. In this case, the same Alpha parameter value is applied to both the background colors.