Modifying a Camera's Settings
It is possible to modify the settings of a camera directly from the viewport in Shaper or Matter or edit them from the editor of cameras.
By directly selecting a camera in the viewport
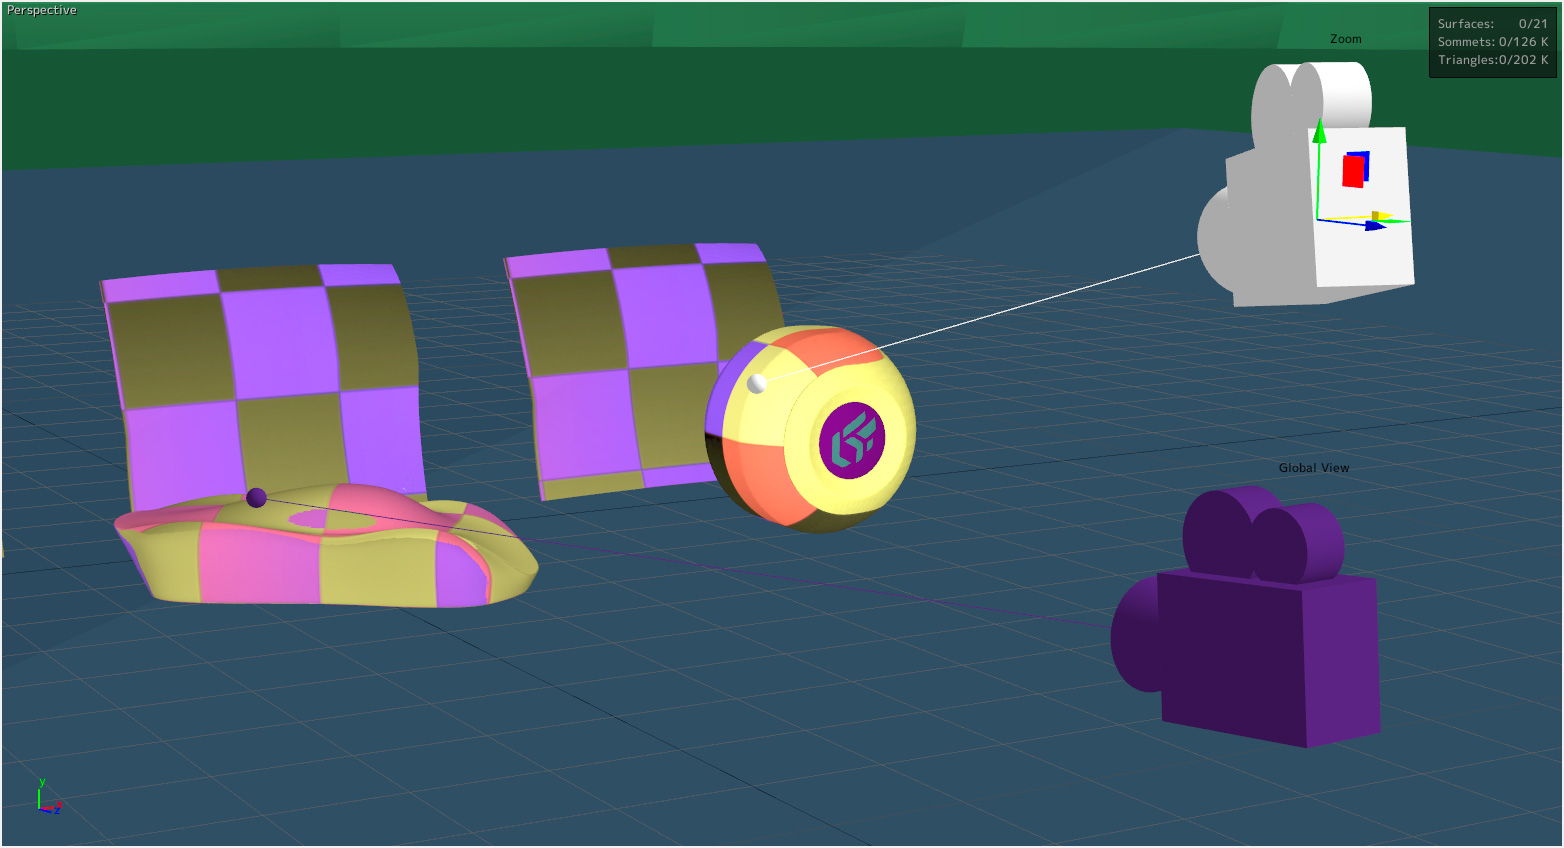
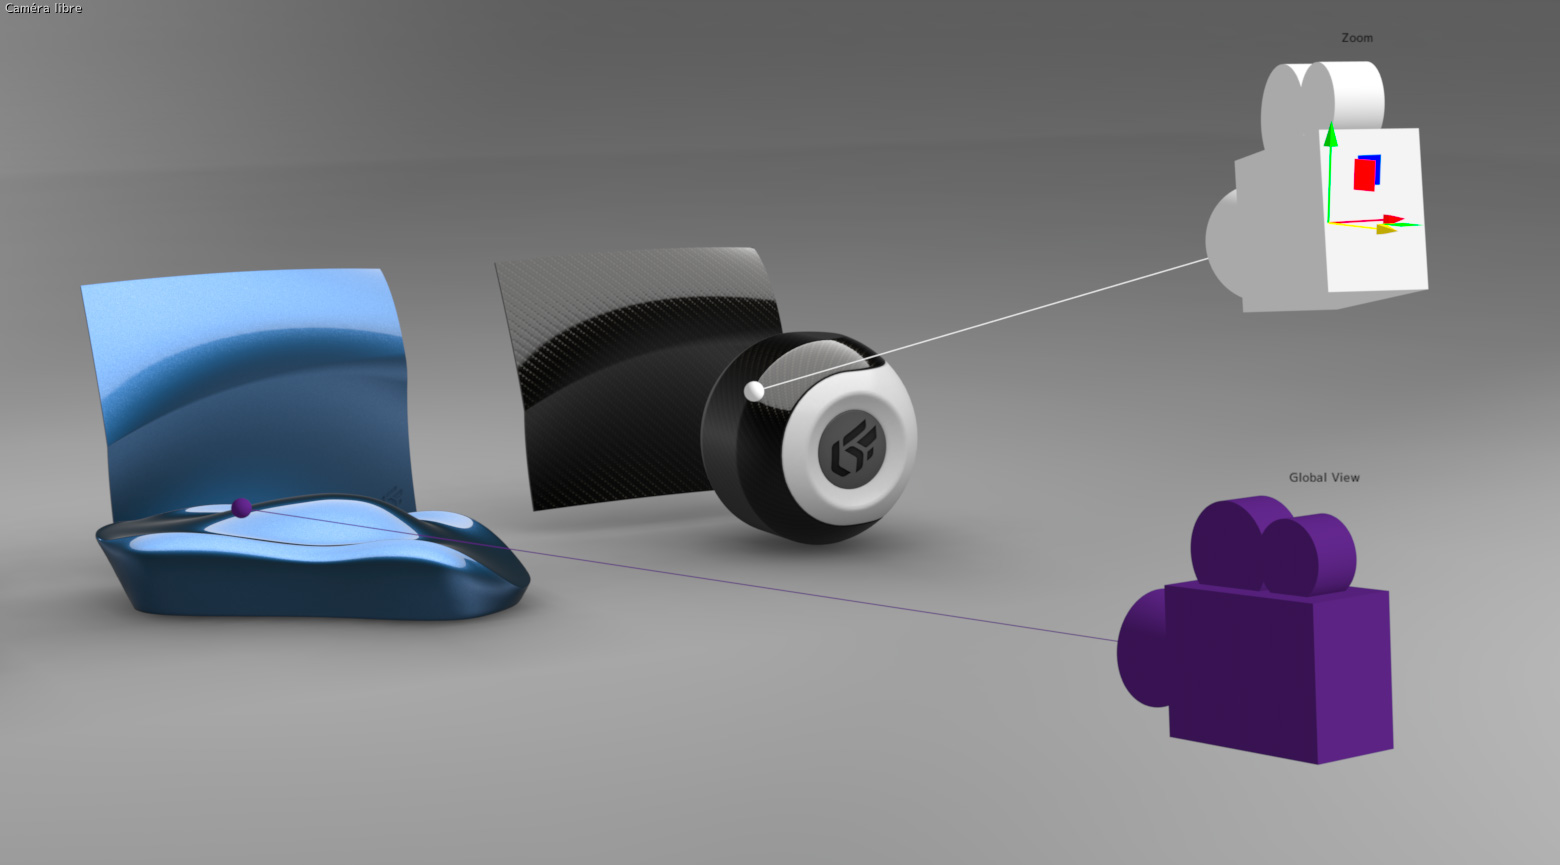
Assuming that your database has at least one camera in the scene, select it directly in the viewport of Matter or from Shaper to modify its location in the scene using the translation or rotation gizmos. You can also adjust the camera target in the same way.
Note
By default the cameras are hidden in the scene, you can, however, display them from the Cameras editor by clicking on this icon  or lock them
  in the viewport from the Cameras Editor. Refer to the Cameras chapter for more details on the overall operation of the cameras.
 |  |
Edit a camera directly in the viewport from Shaper (image on the left) or from Matter (image on the right) without using the Cameras editor.
By selecting a camera from the Cameras list
To modify a camera's settings, the Edit current camera mode must be enabled. Enable this mode for the selected camera in the Cameras editor by clicking on the Edit current camera  button. You can also enable this mode by choosing Edit camera from the context menu that opens when you right-click on the camera in the Camera List.
The settings shown in the Cameras editor are the settings for the active camera in the current viewport. When the camera's settings are displayed on the right of the Cameras editor, the viewport shows what is seen by the camera. The name of the camera is indicated in the upper left-hand corner of the viewport.
As you navigate in the world, you modify the camera's position and orientation. To explore the 3D world, you can use the various navigational modes, Pan, Zoom, Orbit, Fly, Walk, and Head, as well as the mouse and keyboard shortcuts assigned to them.
To return to the free camera, disable the Edit current camera mode.