Creating a Snapshot
During the presentation of your product in Patchwork Explorer, you can at any moment create a snapshot that maintains the format, framing and composition of the active view. The image created (formats: jpg, bmp, png) is then saved in the file of your choice. Snapshot features to create animations, VR objects or VR cube panoramas are also available.
In our case, we will create a shot of the AeroSeat Peach product so that the framing of the image highlights the fabric of the seat.
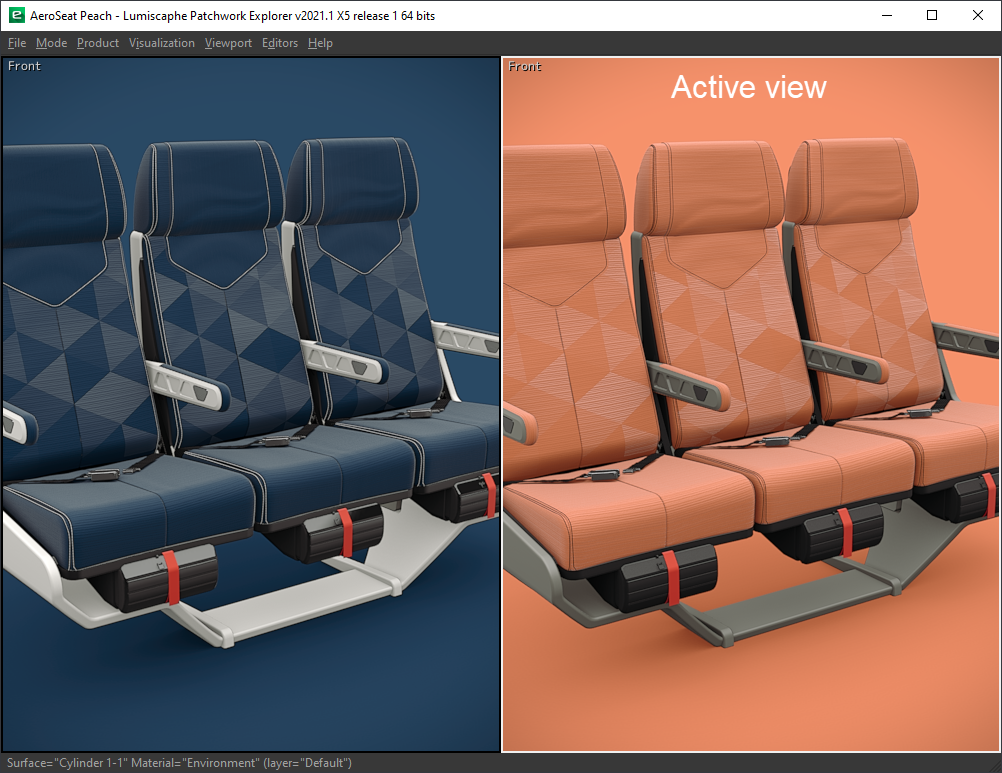
Start by selecting the view containing the AeroSeat Peach product.

The view containing the AeroSeat Peach product is framed in white: this is the active view.
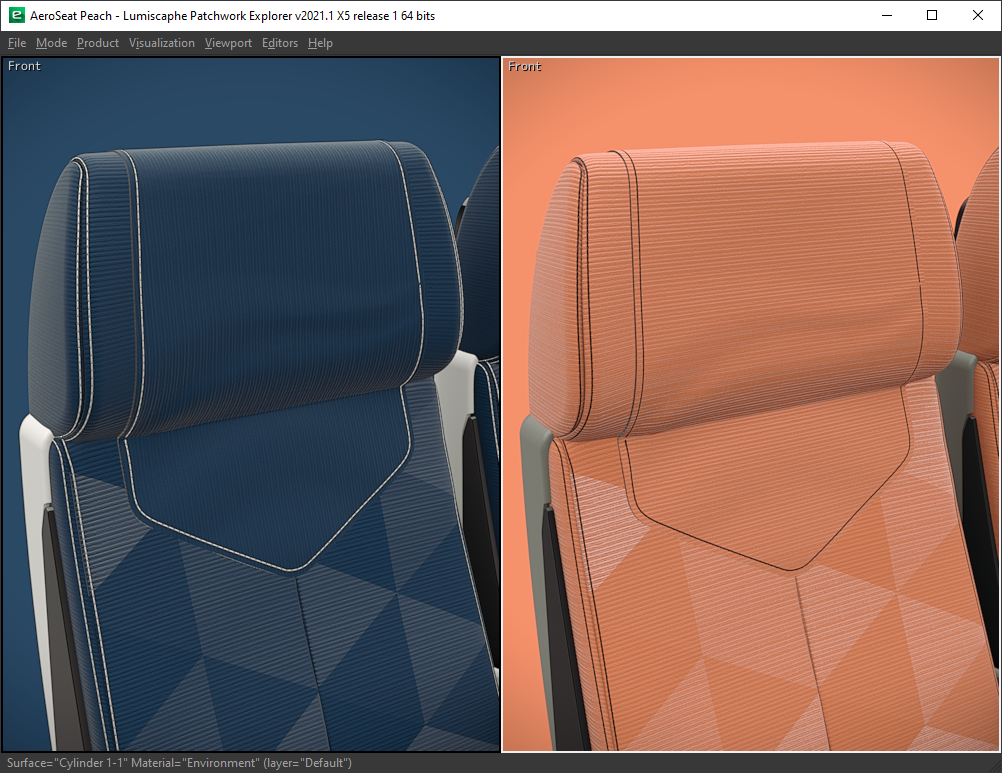
Use the navigation tools to move the point of interest so that the seat back is framed in the image. Use the command Ctrl + Space on the handle to control the point of interest more easily.
You may notice that the movement of the observation point of the active view is instantly reflected in the other views of the main window. We will see in the next chapter the possibilities of interactive links between the different views.

Seat fabric highlights.
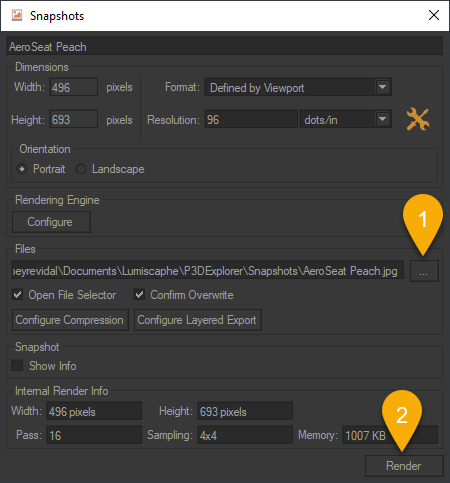
Finally, click the Snapshot Image entry in the Editors menu to save the image to the folder you want. Name the image AeroSeat Peach by specifying the JPG extension, then click on the Save button. Click the Render button to snapshot.

The Snapshots Editor.
Note
The generated image has the same dimensions as the active view in Patchwork Explorer.