VR tab
Notice
New features in Accel VR 2022
The VR tab consists of different accordion menus depending on the selected preset device. Just below the preset selector you will find information related to the position and the rotation of the shuttle in space.
From the drop-down menu select the device configuration preset you will be using. By default, Accel VR uses the Simplified preset which is especially recommended for most virtual reality headsets. This preset has been specially designed for Accel VR users who want to quickly start an immersive experience without worrying about settings. The Headset preset has the same operation as the Simplified one but has additionally rendering options to check or uncheck. The Cave and zSpace presets display their own settings while the Custom preset displays all devices.
Tip
You will find detailed setting options for your device later in this chapter.
By clicking on the icon  you can individually configure manipulators of your device in a simple or advanced way.
Head manipulator
To understand the operation of the head manipulator and configure it, please refer to the Head manipulator paragraph of the Advanced system settings.
Device manipulator
To understand the operation of the device manipulator and configure it, please refer to the paragraph Device manipulator of the Advanced system settings.
Interaction manipulator
To understand and configure the interaction manipulator, please refer to the paragraph Interaction manipulator of the Advanced system settings.
Shuttle manipulator
To understand the operation of the shuttle manipulator and configure it, please refer to the paragraph Shuttle manipulator of the Advanced system settings.
Device presets can be selected from the Advanced system settings. Please refer to the chapter on Advanced system settings for more information.

Note
This drop-down menu only appears with Headset and Custom presets.
From the accordion menu  you can optimize rendering and display fluidity of your headset by checking or unchecking the parameters below:
Render in HMD
By default, the rendering display is projected in a virtual reality headset. But you can choose not to display it to relieve the system in the rendering calculation by unchecking this box.
You can also choose to disable rendering in Pilot by clicking on this icon
 located in the toolbar.
Render mirrors in HMD
Render post-processes in HMD
Render enhanced bump in HMD
From this icon  you will find the above rendering parameters as well as the operating status, model, and manufacturer of the device, plus the following parameters.
The Rendering Mode allows you to select the appearance of your product:
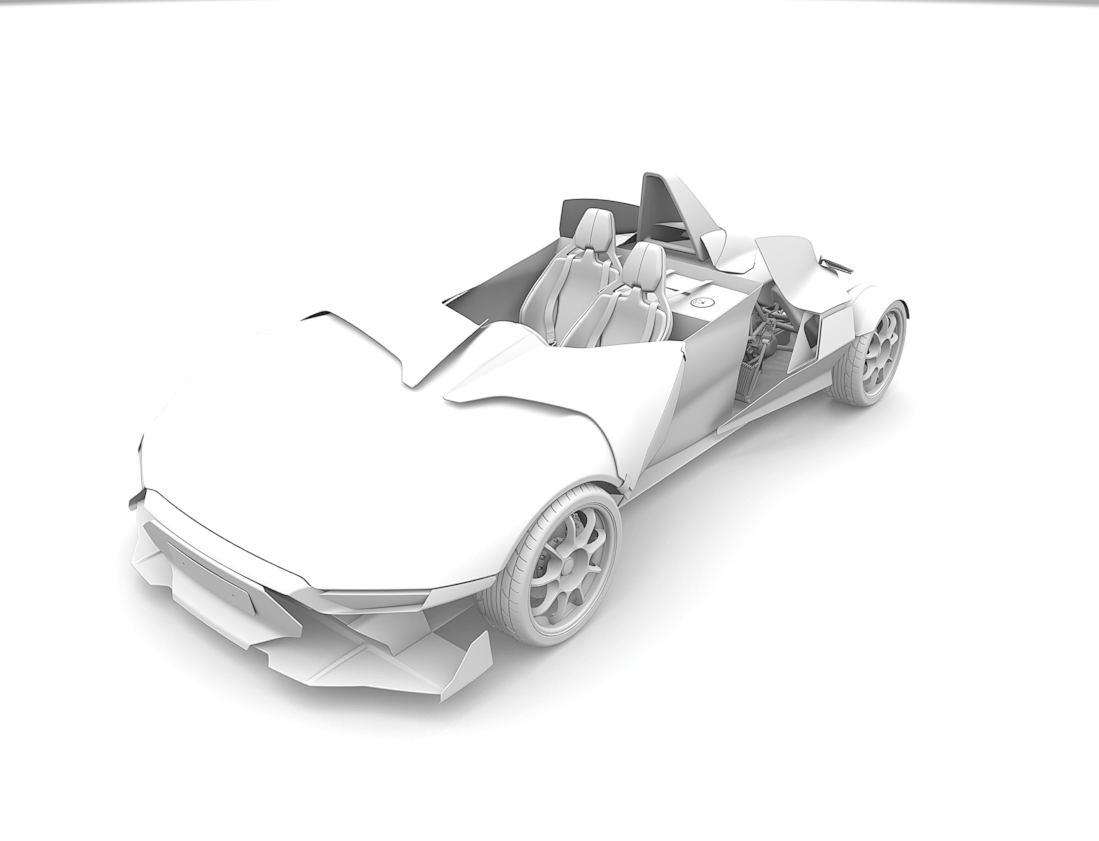
Material displays product textures,

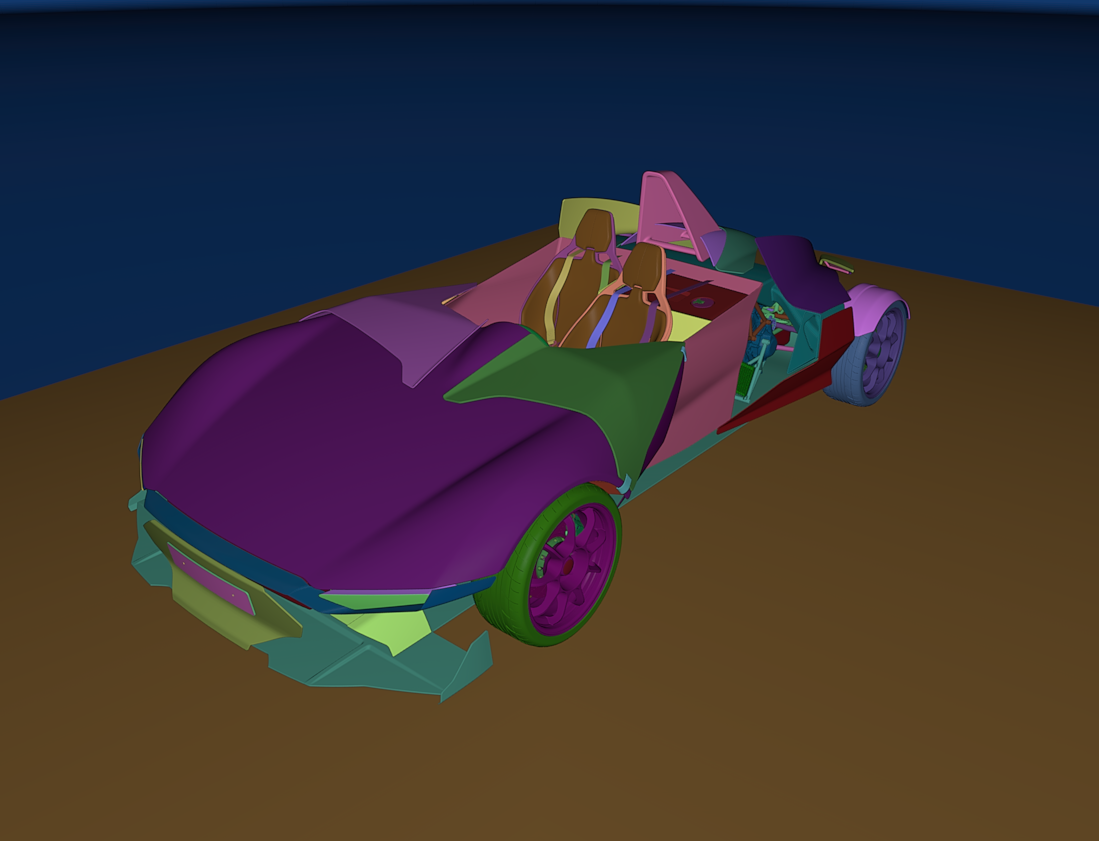
Color displays a different color for each surface used by the product,
Lightmaps display the lighting rendering of the product.
The Eye separation is initialized with the default value of the headset, however, this value can be modified in the dedicated field.
The HMD render scaling slider is useful for zooming out the world so that your model fits the dimensions of the screen of the VR headset.

Note
This drop-down menu only appears with Cave and Custom presets.
From the drop-down menu you have access to the following features to render in your device.
Icon | Action | Description | |
|---|---|---|---|
| Hide rendering window units | Hides the window of each rendering unit (gray icon) to configure their graphics card for example. NoteThe window for each rendering unit is displayed by default. | |
| Unit windows always on top | Keeps the windows of the rendering unit in the foreground among all the windows of the Microsoft Windows® operating system. NoteDisabled by default. | |
| Eye | If the display of the eyes is reversed by a projector (frequent with certain stereoscopic configurations), click on to switch between the left and right displays. NoteDisabled by default. |


Click on this icon to open the windows rendering configuration of your device in the advanced system settings (Windows configuration).
Please refer to the chapter titled Windows configuration to set up rendering in your device.

Note
This drop-down menu only appears with Cave and Custom presets.
The VRPN device management allows you to add, configure, and delete a VRPN device.
Accel VR supports ART, VICON, and NaturalPoint tracking systems.
Accel VR Pilot establishes the link between the render units and the trackers, gamepads, etc ... The connection is made via a local server.
Install ART or VICON equipment according to the manufacturer's recommendations. Accel VR Pilot 2020.1 must be linked with the machine on which the VRPN server of ART or VICON is installed.
The important parameters to remember from a VRPN server are: its IP address, the main tracker name (in the case of tracked glasses), and its index.
The VRPN server must receive information from the tracker(s) (please refer to the manufacturer's user documentation).
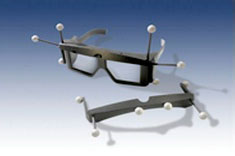
3D glasses
To use peripherals allowing navigation in the 3D scene (Logitech® controllers, Xbox 360® controller for Windows®, etc.), simply connect them to the machine on which Accel VR Pilot 2020.1 is running and install the peripherals drivers. A space mouse may also be used too.
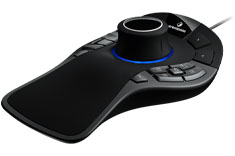
SpaceMouse® Pro
This icon opens the VRPN device plugin settings window.
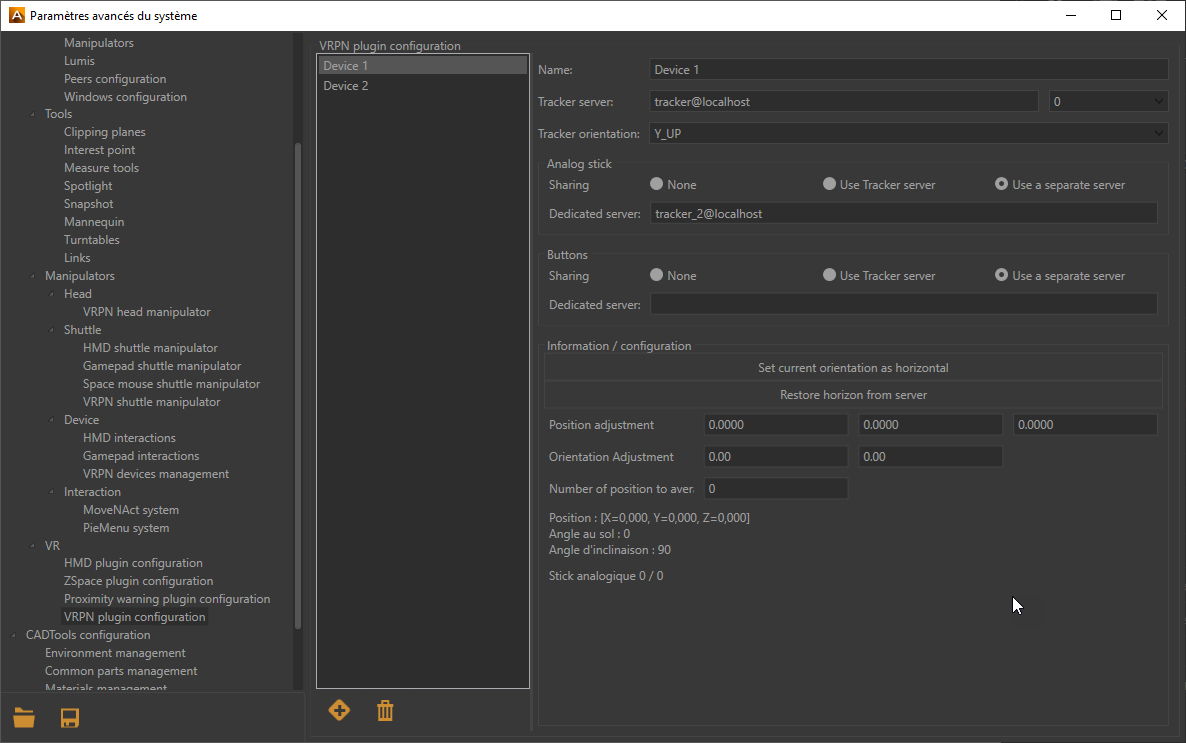
VRPN Manager
VRPN Manager consists of two parts:
The left part to add
 or delete
  a VRPN device.
The right part to configure a device.
Please refer to the manufacturer documentation of the selected device to know the IP address of the Tracker Server. The following drop-down menu  provides to Accel VR Pilot 2020.1 by VRPN protocol the current position of the tracked devices. The digit represents the sensor ID of ART tracking systems. It is normally worth 0 with Vicon systems.
Select the tracker orientation with the following arguments (Y_UP, Z_UP_X_LEFT, Z_UP_X_RIGHT, Z_UP_Y_LEFT, Z_UP_Y_RIGHT) depending on the manufacturer specifications. If the Y_UP convention is not used by default by the tracking system, data provided will be converted by the tracking framework.
If your VRPN device has an analog stick or buttons, the Analog-stick and Buttons boxes will allow you to configure them. Select the Use tracker server radio button if your device is communicating on the same tracking server configured earlier in the VRPN manager. If, on the contrary, the VRPN device does not have an analog stick and buttons such as tracked glasses, select None in both boxes.
In case your device does not communicate on the same tracking server, you then need to associate an analog stick or buttons on a separate server. To do this select the button Use a separate server. Then enter the server address in the field Dedicated server.
The box Information / configuration allows you to adjust the horizontal orientation of the device and make adjustments regarding its positioning in space thanks to the fields X, Y, Z coordinates.

Note
This drop-down menu only appears with Cave and Custom presets.
Expand the accordion menu and then click the Correct trapezoid button to calibrate the projection areas of the CAVE.
See details in the Operating principles chapter to understand how Accel VR works with a CAVE.
In the toolbar click on this icon
 to display the rendering in your immersive system.
Then click Start warping button.
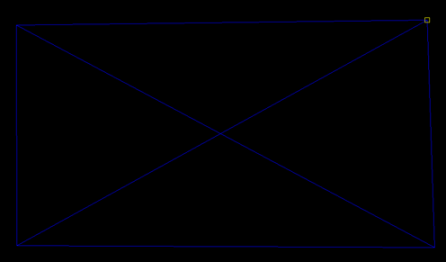
A test pattern is projected by all render units in the system.

Sample test pattern projected during the calibration procedure for the projection areas.
On each unit, proceed as below (assuming you will use a gamepad for the calibration process):
Press A button of the gamepad to configure the bottom edge. Using the joystick or the paddle (for the pixel precision) of the gamepad, reposition this edge so that its projection overlaps the bottom of the corresponding screen. Then press the B button on the gamepad to select the lower right corner and repeat the setting to place the corner so that its projection overlaps the bottom right of the corresponding screen.
Do this for all corners and edges that require adjustment in the order of the buttons shown in the table below.
A
B
B
Y
Y
X
X
A
Lower edge
Lower right corner
Right edge
Upper right corner
Top edge
Upper left corner
Left edge
Lower left corner
Positioning the upper right corner with the joystick of the gamepad.
When an image is rendered, Accel VR will distort it to compensate for the keystone projection resulting from the position of the projector. The model’s normal proportions will be restored in the projection areas.
Areas outside of the test pattern will always be displayed in black to restrict the projection to the intended screen.
Note
Accel VR saves the configuration of the Calibration Projection Areas. However, you can change the calibration at any time by repeating steps 4 and 5.

Note
This drop-down menu only appears with Cave and Custom presets.
In an immersive system using walls, the observer is often unaware of the edges of the observation area and of the placement of the screens. To prevent the observer from running into the screens, a proximity warning is available.
With the accordion menu you can directly activate or deactivate the proximity warning option.
It is possible to modify the default settings of the proximity alert such as its Minimum distance, its Maximum distance or its Color by clicking on this icon .
The proximity warning colors the display and shows a grid with the color of your choice whenever an obstacle (the screen) is detected within a defined zone around the observer's head (Minimum distance and Maximum distance). This zone is defined in terms of the distance from the center of the observer's head.
Warning
The Canon MREAL headset is only available in Japan and on request.
From the accordion menu you can optimize the rendering by checking or unchecking the parameters below:
Render in HMD
By default, the rendering display is projected in a virtual reality headset. But you can choose not to display it to relieve the system in the rendering calculation by unchecking this box.
Display Canon MREAL background
From this icon you will find the below rendering parameters as well as the operating status, model, and manufacturer of your device, plus the following parameters.
Render mirrors in HMD
Render post-processes in HMD
Render enhanced bump in HMD
Display Canon MREAL background
When the parameter is activated, it displays the headset image which is the augmented reality instead of the product background.
Display hands
Canon MREAL technology recognizes and scans the hands of your body so that they are directly displayed in augmented reality. If the parameter Show hands is activated. Accel VR redraws the hands in the foreground with a color of your choice (parameter: Hand color). A specific tracker is required for the Canon MREAL to work correctly in augmented reality.