Collaborative tab
The Collaborative tab allows you to create or join a collaborative session to do design and engineering reviews with remote collaborators. We can imagine a session to validate the atmosphere of a vehicle, for example.
Create a collaborative session
Notice
New features in Accel VR 2023
Click the button
 to start a collaborative session. In the window that appears select Create and click Next.
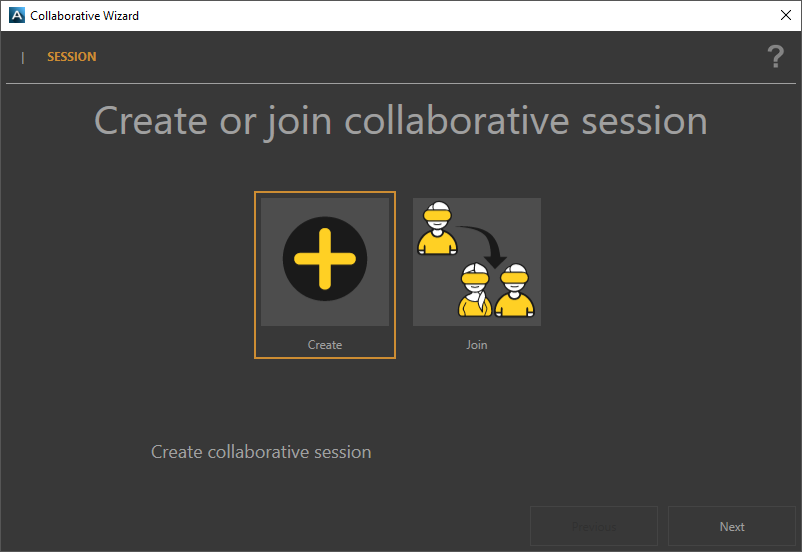
Configuration wizard to create a collaborative session.
In the second window, select Local from the drop-down menu in case you want to host the session, or click on the button
 to host the session on a server. To do this, fill out the Host address and the Host name.
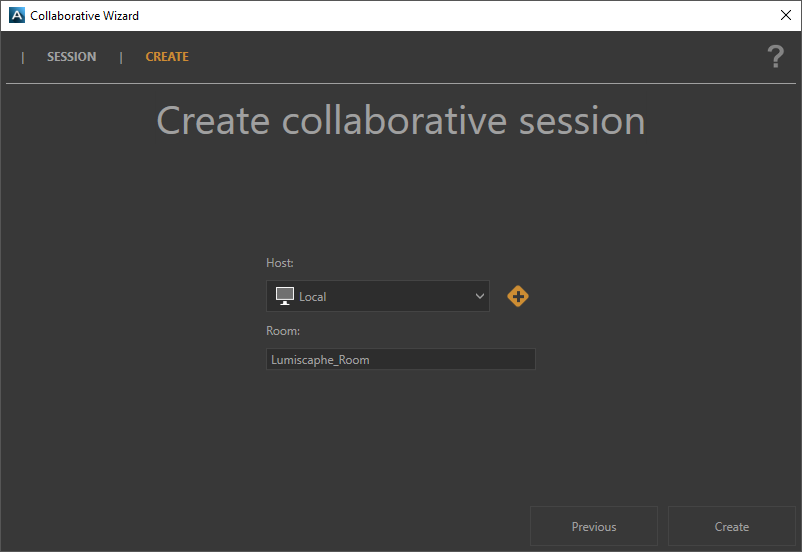
Example of the configuration of a collaborative session hosted locally.
Name the Room and click the Create button.
If the connection is successful, the status Connected will appear in green which means you can continue the configuration wizard by clicking on the Next button.
If the connection is not successful, the Session not available status will appear in red. Until the connection is established you will not be able to continue the wizard.
Tip
You can rename the host name from the
 Advanced system settings via the following path: Pilot > System configuration > Collaborative.
If you opened a database before launching the Configuration Wizard, Accel VR will then ask you to select or not a scene.

Example of the configuration of a collaborative session with the sharing of a scene.
Then select the product to share.
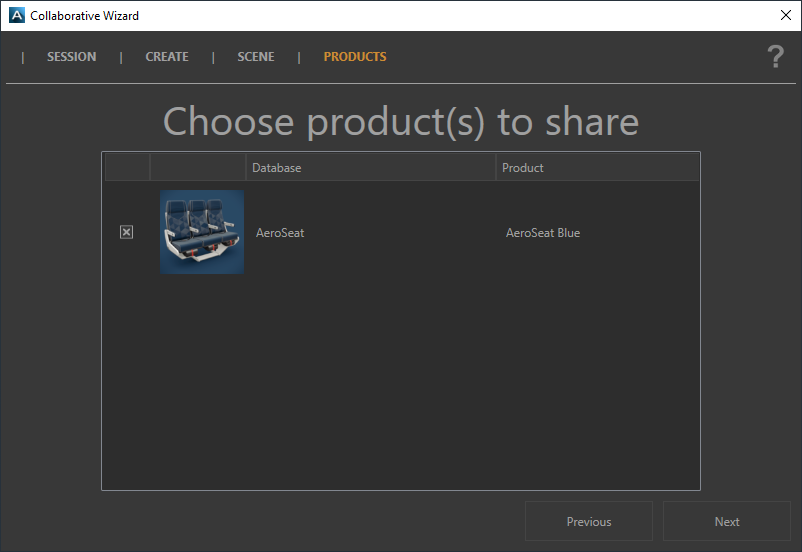
Example of selecting a product from a scene.
In the next window of the wizard, copy the connection information to share it with your collaborators and click on the Close button.
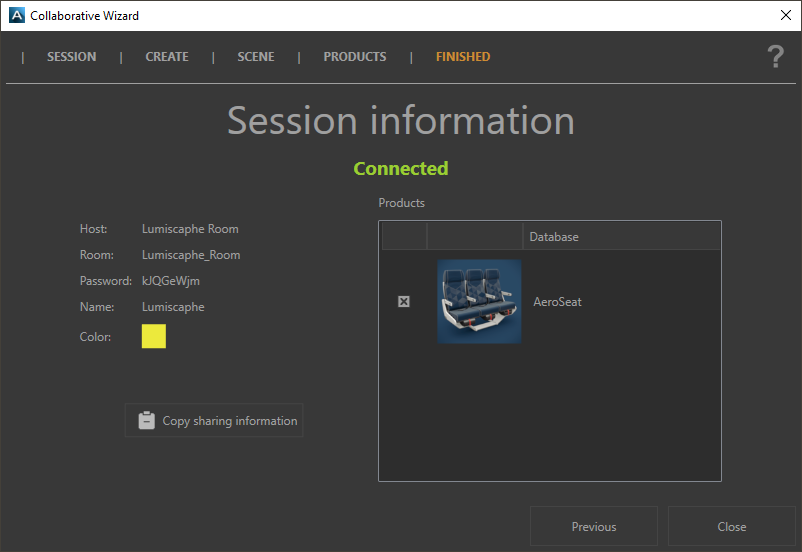
Example of the information to share with the collaborator who will participate in the collaborative session.
Join a collaborative session
Notice
New features in Accel VR 2023
Click the button
to start a collaborative session. In the window that appears select Join and click Next.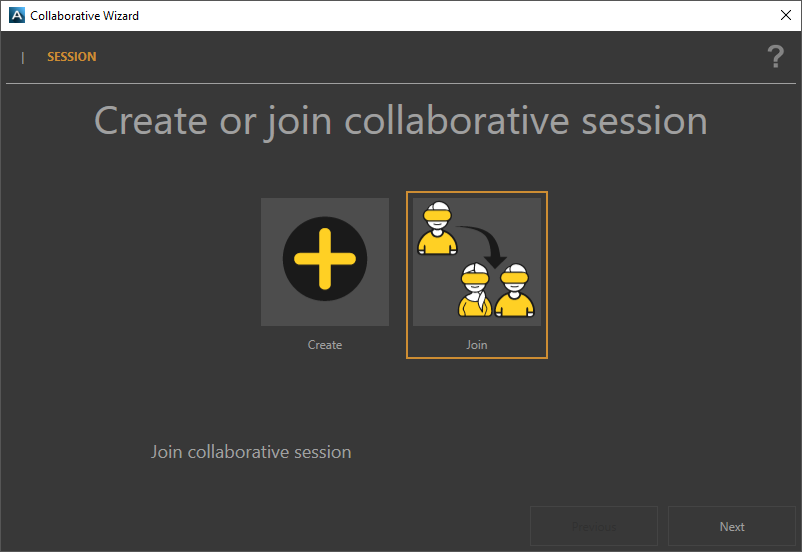
Example of configuration to join a collaborative session.
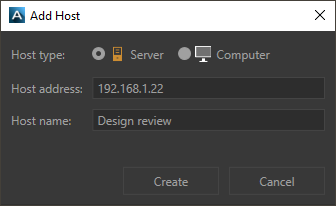
In the second window, click
, select the host type Server or Computer, then add the host information corresponding to the address and the name of the session information shared by the session organizer. Click on the button Create to finish.Note
By default, Accel VR copy information filled out in the Host address field to name the Host name. You can rename the host based on information shared by the session organizer.
Back to the configuration window to enter the Password.

Example of session information requested to join a collaborative session.
Click to Join to join the collaborative session
If the connection is successful, the Connected status will appear in green and you can continue the configuration wizard by clicking on the button Next button.
If the connection is not established correctly, the Session not available status will appear in red. Until the connection is established you will not be able to continue the wizard.
If the connection is successful, click Close to finish setting up the collaborative session.
Collaborative session information
When the session connection is established, Accel VR displays the following information in the side panel:
the local information: Address, Name, Color -which is directly editable- and the Avatar.
Notice
New features in Accel VR 2023
Note
Accel VR randomly assigns a color for each added collaborator to identify them in the scene. However, its color but also its name, and its avatar can be modified from the
Advanced system settings.
Example of the color change of the Hands avatar tracked by the Leap Motion system.
the session information: Host, Room, Password.
This information can be copied to the clipboard and shared with collaborators you want to participate in the session.
the information on the collaborators connected to the session.
Accel VR can automatically display available peers over the network.
Click on this icon
 to choose each pair you want to use. The icon of the selected window turns orange
  to inform the user that the window has been added to the list. The question mark
  then disappears. You can now close the window of the Advanced system settings.
Note
This icon
means that the shuttle window has not been added to the list yet. She is unknown. This icon  means that the calculation unit dedicated to the shuttle window is not available on the network despite the fact that it has been added to the list.