Timeline Controls
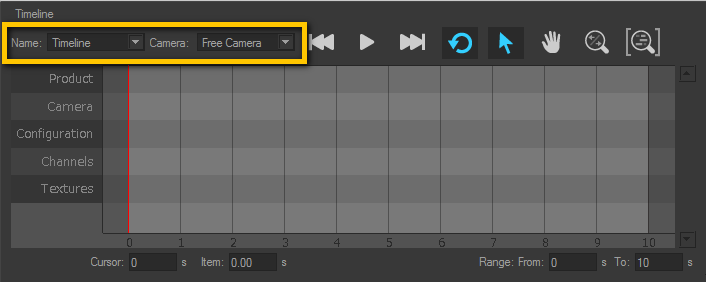
Verify that the timeline shown is the timeline you wish to play back. The current timeline’s name is displayed in the Name zone. This zone contains a drop-down list that provides direct access to a list of all the existing timelines.
Tip
To modify a timeline’s name or to create a new timeline, use the controls available in the Timeline library tab to the right.
From the Camera drop-down menu, choose the camera to be used to initialize the timeline. If your timeline contains camera clips, these will be applied to the selected camera and will modify its settings. The free camera is selected by default.
Note
The chosen camera is modified by camera clips during timeline playback. The original camera settings will be overwritten.
Timeline Playback Controls
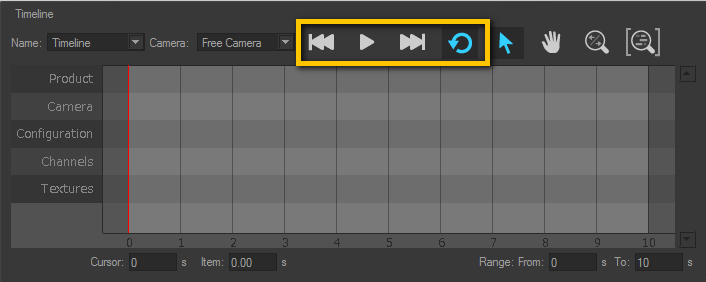
The playback is controlled using the set of playback buttons at the top of the Timeline Zone:
Icon | Function | Description |
|---|---|---|
| Timeline range start | Returns the time cursor to the beginning of the animation range. |
| Play / Pause | Start the playback if it is stopped, or pause it if it is currently running. |
| Timeline range end | Move the time cursor to the end of the animation range. |
| Loop timeline playback | Loop the playback of the animation range. This mode is active by default. |


Tip
You can also control playback with optional keyboard shortcuts that can be set up in File > Keyboard Map editor for the following actions:
Timeline Range Start returns the time cursor to the beginning of the animation range.
Timeline Range End moves the time cursor to the end of the animation range.
Play/Pause Timeline Playback starts the playback if it is stopped, or pauses it if it is currently running.
Navigation Controls for Timeline Tracks
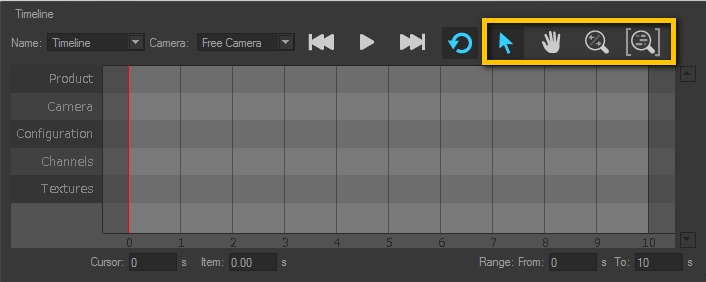
To move within the timeline tracks:
Use the scroll wheel of the mouse to zoom in on and out from the mouse cursor position.
Click on the buttons at the top of the Timelines editor corresponding to the mouse modes, then move the mouse while holding down the left mouse button:
Select and move
 an item.
Pan
 the track display zone.
Zoom
 .
.
Use the shortcuts configured in the Keyboard Map editor. By default, you can:
Pan: by holding down the middle mouse button and moving the mouse,
Zoom: by holding down Ctrl + Shift + the middle mouse button and moving the mouse.
The  button in the upper right-hand corner resets the level of zoom to fit the width of the entire playback range in the display zone.
Precise Positioning Controls
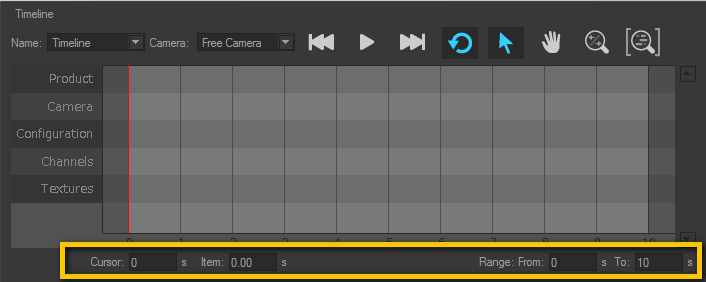
This bottom of this zone also allows you to:
Position the time cursor as precisely as possible by providing its temporal position in seconds in the Cursor Time box. You can also drag the cursor with the mouse.
Position the selected item or group of items in the animation tracks as precisely as possible by providing its activation time in seconds in theItem time box.
Define the animation range, or the playback start and end times in seconds, by specifying values in the Range:From and To boxes.