Example: Creating a Configured Product with Auto-Partitioning
Note
This example of configuration rule creation for the color of a truck cabin is based on database toy_truck_tuto.p3d. You can obtain this database by emailing our support team @ support@lumiscaphe.com.
This example uses the database toy_truck_versions.p3d. It contains several product versions including a single aspect layer each. The following tutorial explains how to gather all the versions into a single configurable product to create a complete product range.
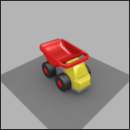
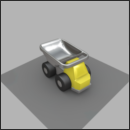
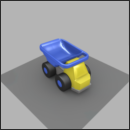
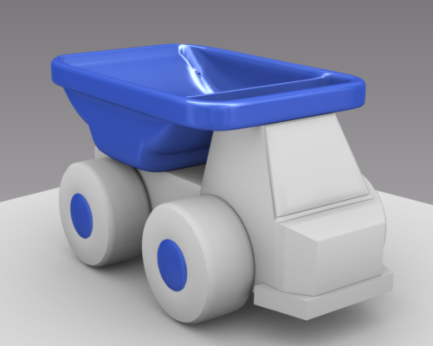
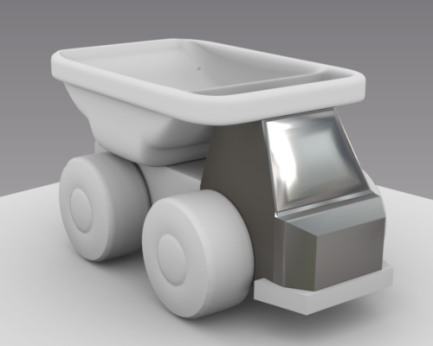
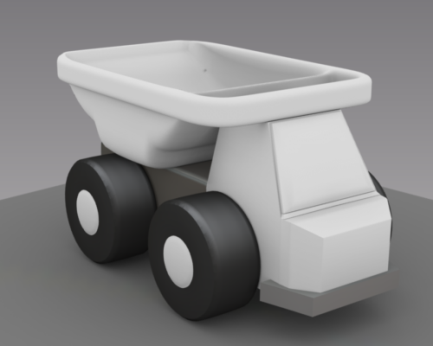
The product versions available in the database show different colors for the cabin on the one hand and the bin and rims on the other hand. The configured product will then require two configuration rules.
 |  |  |
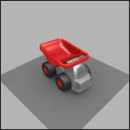 | 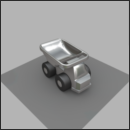 | 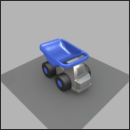 |
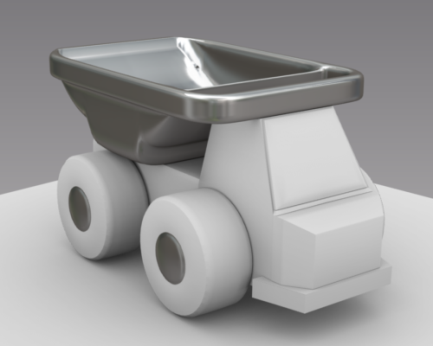
The six product versions created from the same model.
Step 1: Creation of a Blank Product and Layers Import from All Product Versions
Create a new product called Configured Product.
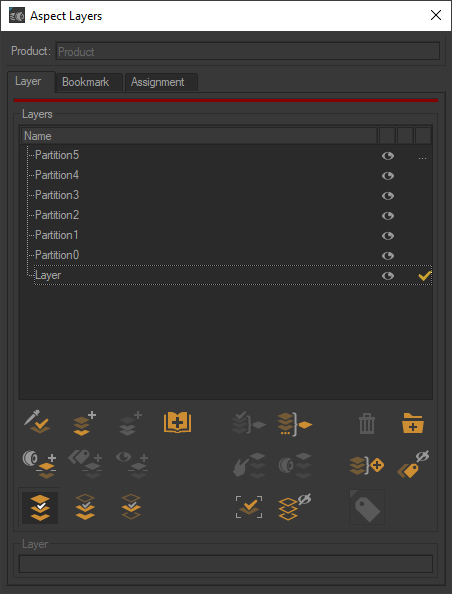
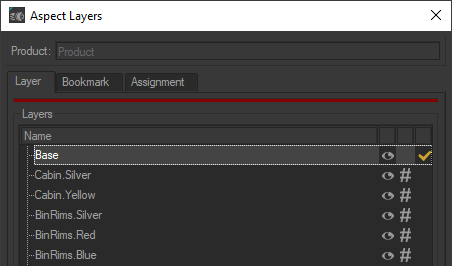
Aspect layers belong to the product versions and not to the model. The product created only has a blank base aspect layer. In order to create the configuration system, the aspect layers of the different product versions must be imported in this product. Use the function Import Aspect layers  accessed through the Aspect Layers editor to import aspect layers into the new product. The imported layers are displayed in the Aspect Layers editor of the Configured Product in addition to the base layer.
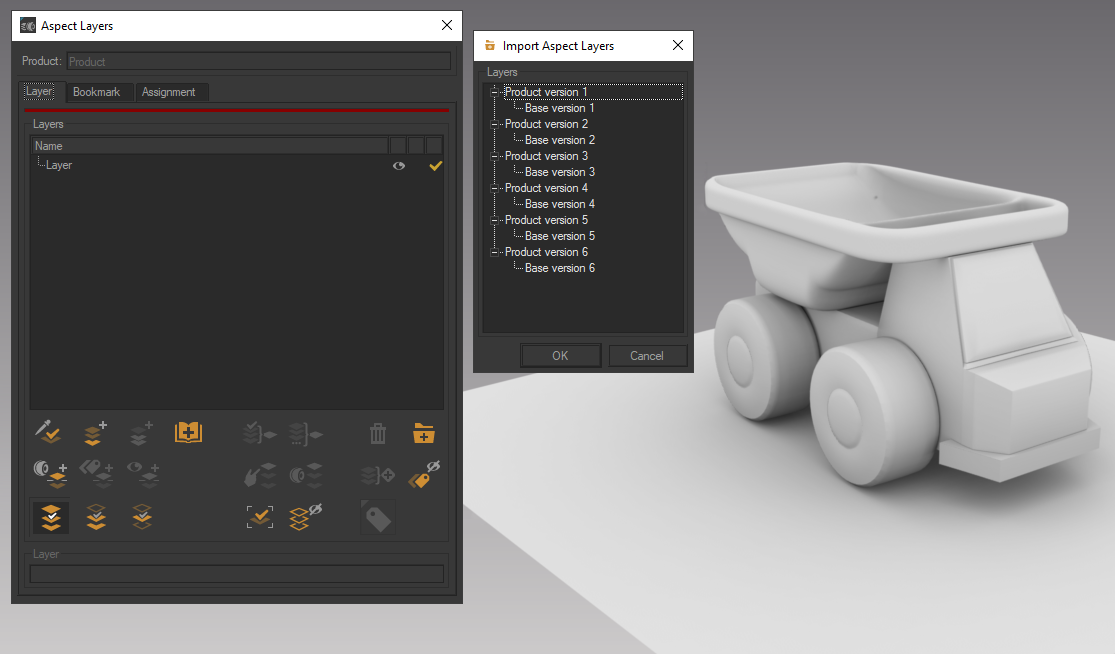
Importing existing aspect layers into the blank product.
Step 2: Auto-Partitioning
Select all imported layers in order to split them by assignment. This operation is performed by using the Expand Selected Layer Selection by Assignment function  from the Aspect Layers editor. The partitions obtained are presented below.
 |  |  |
 |  |  |
Partitions obtained by expanding the layers by assignment.
The partitions obtained are listed in Aspect Layers in addition to the base layer of the "Configured Product".
Step 3: Renaming the Layers
Now that partitions have been obtained, configuration rules may be created for the cabin color in one instance and the bin and rims color in the other.
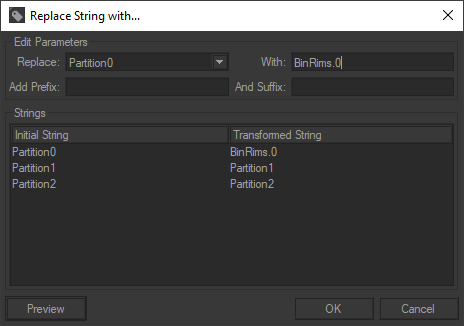
Renaming the layers.
First, rename the layers according to the "partition.value_n" format using the Replace String function  of the Aspect Layers editor. In this example, rename layers Partition0, Partition1 and Partition2 into BinRims.0, BinRims.1 and BinRims.2. In order to work with explicit names, rename these layers into BinRims.Blue, BinRims.Red and BinRims.Silver. In the same manner, rename layers Partition3 and Partition4 into Cabin.Yellow and Cabin.Silver. Layer Partition5 is renamed into Base. The material assignments in this layer don’t require a configuration rule.
Renamed appearance layers of the product "Configured product".
Step 4: Rule Creation
Create the rules by drag-and-drop of the selection Cabin.Yellow and Cabin.Silver layers on the one hand, and BinRims.Silver, BinRims.Blue and BinRims.Red on the other hand. The rules created are displayed in the Configurations editor. The Configuration Browser was also updated.
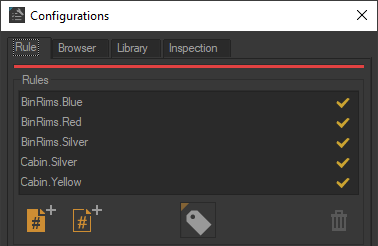 | 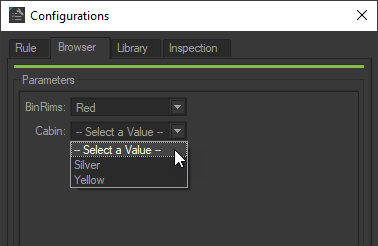 |
Configuration editor and browser after creating the rules.
Tip
The different product versions can be deleted.
In the Aspect Layers editor, these product versions are accessible as bookmarks.
It is possible to create a configuration for each of the corresponding variants in the Library of the Configurations editor, so that you can easily call it up again for future reference.