Selection
A selection is a group of surfaces designated by a user in the model being edited.
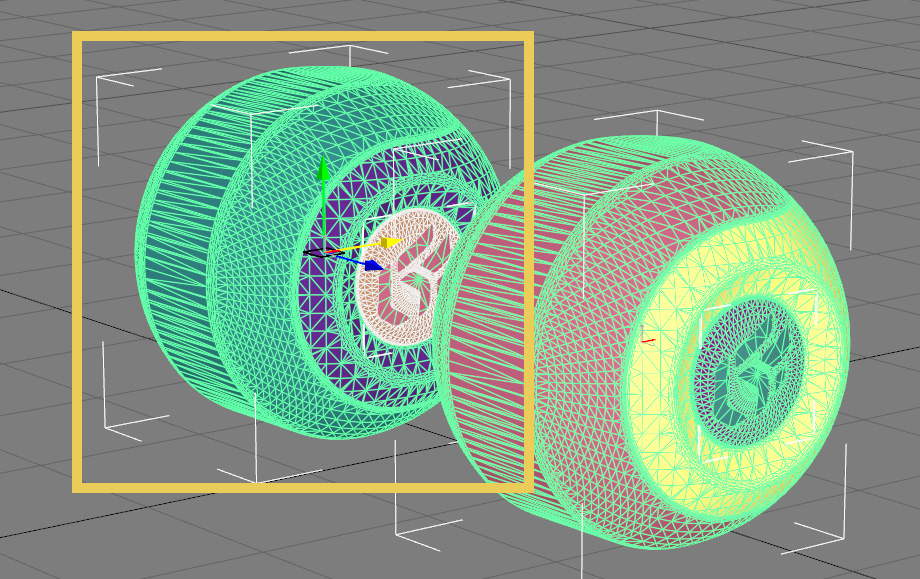
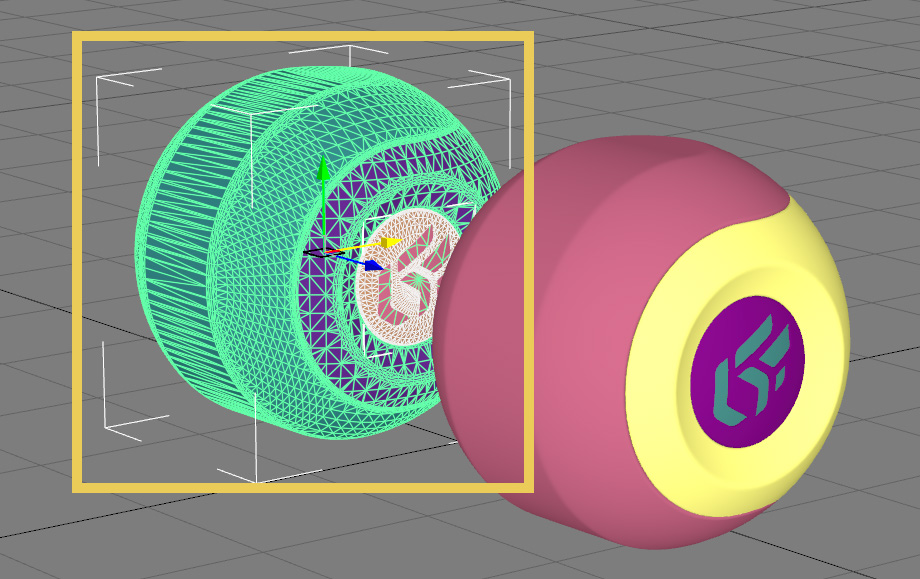
Selected surfaces are represented in a 3D viewport with green highlighting. One of the surfaces is designated as the leader. It is represented with white highlighting. The leader surface is used for various operations that require the identification of a single surface within the selection.
The Shaper interface offers three methods to modify the selection of surfaces:
By selecting surfaces with the mouse directly from the graphic representation in the 3D viewport. This uses the Selection mode.
By enabling one of the operations affecting the selection from the menu or the toolbar.
By using the surface selector that can be found in the layer selector in the Surfaces sidebar tab in Shaper.
Actions available from the context menu
Once you have defined a selection, you can use  Freeze Selection, available from the context menu that appears when you right-click in the viewport. The current selection will be locked. To keep you from modifying it and to make it easier to manipulate this selection, the tools for selecting and deselecting objects are deactivated until you unfreeze the current selection by selecting Freeze Selection again.
Still by right-clicking, the Select a surface under cursor lists the different types of selection:
The Advanced Selection Under Cursor opens a window allowing you to select a surface under the cursor. This option is useful when a product has several overlapping surfaces.
The saved selections. You can find them in the Saved selections tab of the Selections (Editor).
The surfaces under the cursor.
The context menu also allows you to resize the selected surface(s) with Scale Gizmo  . Please refer to how the scaling gizmo works to apply the transformation.
Modifying the Selection Using Menu Operations
Operations for modifying the selection are available in the Selection menu:
Icon | Function | Description | |
|---|---|---|---|
| Select All | Select all the surfaces of the model. | |
| Invert Selection | Invert the selection: select all unselected surfaces and deselect the surfaces that were previously selected. | |
| Select None | Deselect all surfaces. | |
Selection by type | Select surfaces by type. | ||
Selection by lighting | Select surfaces with or without lightmaps. |


Surface Selector
The surface selector is placed under the layer selector in the Surfaces panel of the Shaper sidebar. It shows the list of surfaces associated with the current active layer. Each surface is represented by its name and three boxes characterizing its state: visible, frozen, or selected.
The color of the first box corresponds to the color of a surface in the 3D viewport.
The second box corresponds to the visibility of the surface. An eye  represents the visibility of the surface. When the eye is barred and grayed out
  , the surface is not visible.
The third box indicates whether the surface is frozen or not. This condition is represented by a lock  . When the lock is closed and red
  , the surface's selection state is locked. It cannot be selected or deselected.
The fourth box corresponds to the surface selection. When the checkmark is highlighted in white, the surface is selected. A green checkmark indicates that the tessellation for the selected NURBS surface can be modified.
At any moment, you can modify the state of a surface by clicking on the boxes.
A few operations are directly accessible from the surface selector via the icons and the options menu. To open the options menu, place the mouse pointer on the designated surface and right-click on it.
When an operation is called up directly from the surface selector, it applies to all the surfaces that are highlighted in the surface selector.
You can mark or unmark a surface with a Ctrl-click on its name in the surface selector. You can extend the marking to other surfaces by Shift-click on their names. You can cancel the marking by clicking in the selector outside the surfaces.
Certain operations are available from the selector's context menu.
At the bottom of the surfaces selector, tools allows you to duplicate the marked surfaces, to send the marked surfaces to the active layer, to call up the properties box for the marked surfaces, or delete the marked surfaces.
You can move the marked surfaces to another layer with a drag and drop of the marked surfaces to the destination layer.
By clicking on one of the column headers of the surface selector, you can modify the sorting used for displaying the surfaces: sorting by name or sorting by box.
Selection Mode


The Selection operating mode (F2) allows you to interact directly with the 3D surfaces to modify the selection. Please refer to the selection for more information.
Function | Shortcut |
|---|---|
Select a single surface | Click on the surface. |
Add a surface to the selection | Shift + click on the surface. |
Remove a surface from the selection | Ctrl + click on the surface. |
Cancel a selection | Click anywhere in the background of a viewport. |
By holding the mouse button down and moving the mouse cursor, you plot a rectangular region. When you release the mouse button, all the surfaces that are visible in this region are included in the selection operation.
Function | Shortcut |
|---|---|
Select all surfaces in a region | Click and drag the mouse pointer in the viewport. |
Add all surfaces in a region to the selection | Shift + click and drag the mouse pointer in the viewport. |
Remove all surfaces in a region from the selection | Ctrl + click and drag the mouse pointer in the viewport. |
Cancel a selection | Click anywhere in the background of a viewport. |
The different selection methods are as follows:
Icon | Function | Description | |
|---|---|---|---|
| menu Selection > Touched by Region ( F3 ) | By default, the selection system is configured to designate all the surfaces contained or partially contained in the designated region during the click and drag.
| |
| Selection menu > Enclosed by Region (F4) | Only the surfaces that are fully contained in the region are designated during the click and drag. This operating mode is particularly advantageous when you wish to designate the surfaces of a more complex assembly.
| |
| Selection menu > Restrict Region To Visible | Only visible surfaces contained in the region are selected when clicking and dragging. This procedure is particularly useful to avoid accidentally selecting surfaces hidden by other surfaces. NoticeThis selection mode works in conjunction with the other two selection modes Touched by Region and Enclosed by Region.  Restrict Region to Visible enabled  Restrict Region to Visible disabled |